Skip to content

Linux Techa

  • Home
  • About
    • Announced Changes
    • Contribute
      • Buy Us a Coffee
    • Privacy and Cookies Policy
  • Dictionary
  • Desktop Environment
    • Cinnamon
    • KDE Plasma
    • GNOME
    • MATE
  • Distros
    • Arch
    • Debian
    • Fedora
    • OpenSuse
    • Red Hat
    • Ubuntu
  • Current Page Parent Linux Administration
    • Current Page Parent Chapter One. Introduction
      • Welcome
      • History Of GNU/Linux
      • Structure of Chapter One
      • Hardware Components
        • Motherboard
        • CPU
        • RAM
        • GPU
        • Storage Devices
        • NIC and Other Components
      • Operating Systems
        • Operating Systems Overview
        • Linux Architecture
      • Current Page Parent Virtual Box
        • Current Page Parent Virtual Box Installation
Share
10 Feb 2025
Chapter One. Introduction / Linux Administration / Virtual Box / Virtual Box Installation

Installing Oracle Virtual Box

by maus

As mentioned before, we aim to demonstrate how to install Debian GNU/Linux, Mabox and Fedora Linux on Virtual Box (referred to as VBox). To begin with, we immediately visited the official website to download the VBox. The following steps are provided specifically for Windows users.

On Linux, you can download VBox from the website and install it with a single click, or it may be found in the software applications’ package managers of certain distributions and/or Desktop Environments’ applications for installing software. Another choice is to set it up through the terminal, as long as the software is included in the repositories of the package manager being used.

Screenshot_359-1024x470-png Installing Oracle Virtual Box

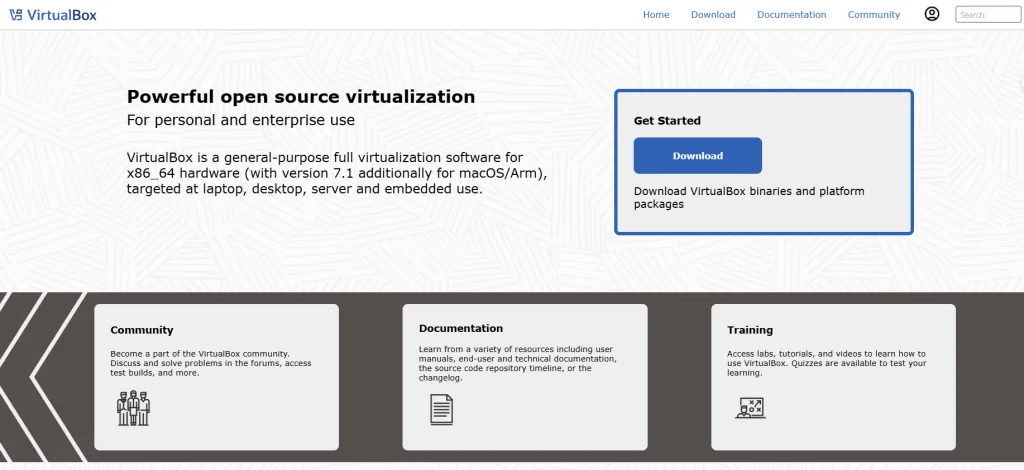
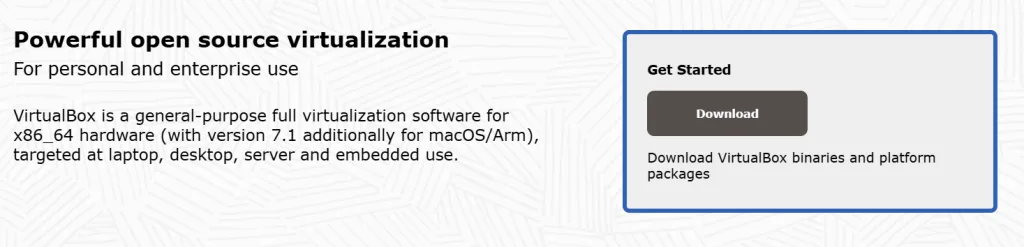
The option that we are looking for is Get Started – Download.

Screenshot_1-1024x247-png Installing Oracle Virtual Box

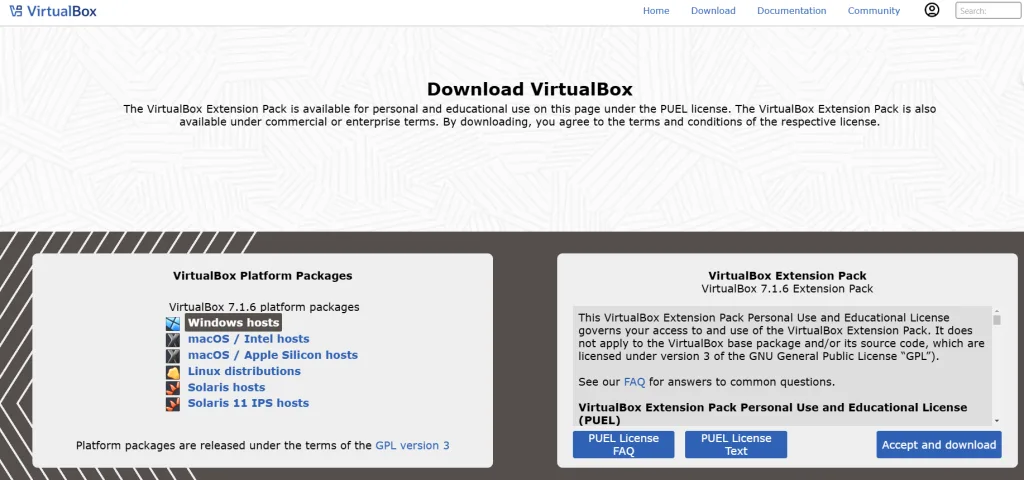
Among all the options that are available, we are interested in selecting Windows hosts. The download will begin automatically, and the installation process will closely resemble other Windows installations.

Screenshot_2-1024x480-png Installing Oracle Virtual Box
Screenshot_3-png Installing Oracle Virtual Box

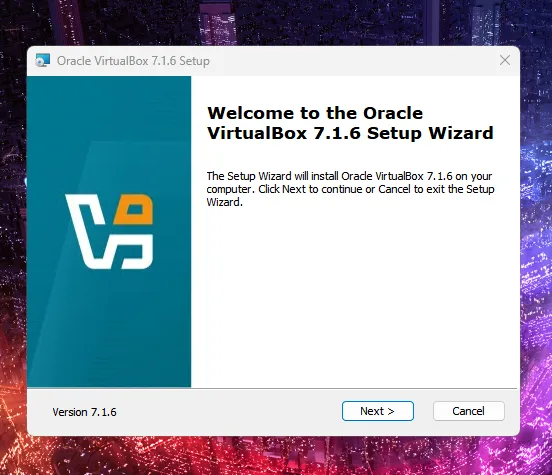
At this moment, this images are self-explanatory. We will simply select Next on The Setup Wizard.

Screenshot_4-png Installing Oracle Virtual Box

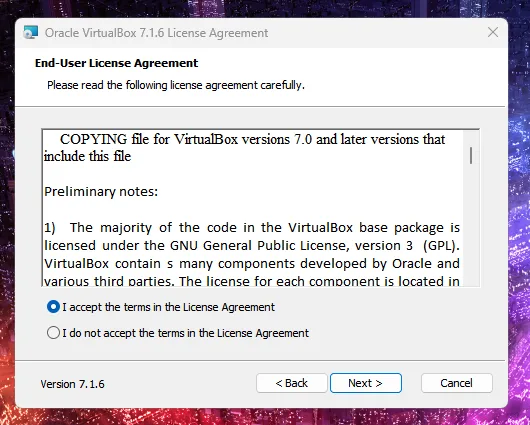
After clicking on the Next, we will be greeted by the EULA and will accept the terms.

Screenshot_5-png Installing Oracle Virtual Box

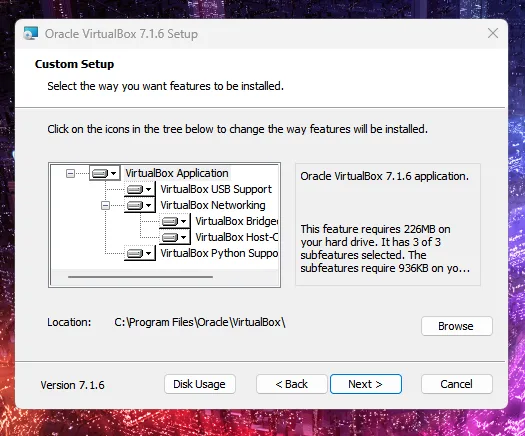
Afterwards, you have the option to pick from the dropdown menu for each part of the installation, but we will opt to select to install all – the Virtual Box Application and choose Will install for every option. An additional step might be required if the Python support is selected. We had it installed so it won’t ask anything as additional from us.

Screenshot_6-png Installing Oracle Virtual Box

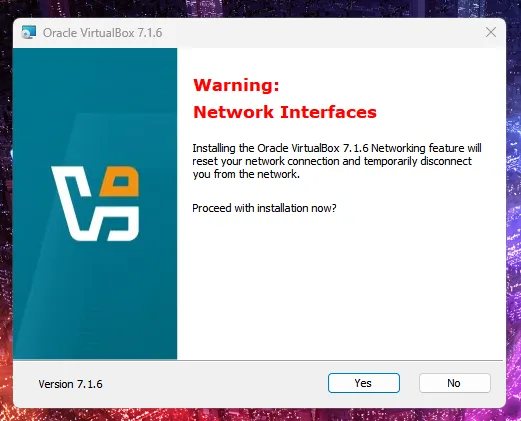
We will receive a notice that our network connection will be reset, causing a brief temporary disconnection, but it’s okay because it happens quickly and we have our password (network security key) handy to restore the connection. Yes is our choice.

Screenshot_7-png Installing Oracle Virtual Box

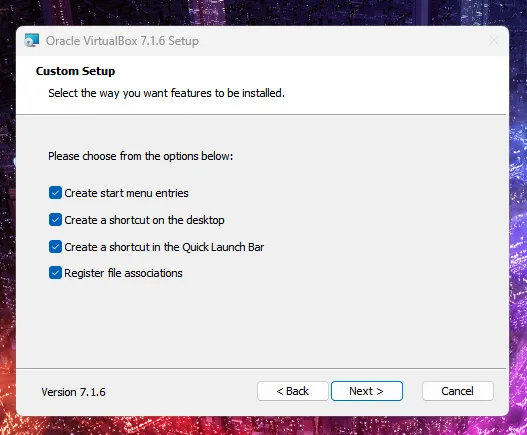
We prefer to have our features installed – it’s still everyone’s choice – the last option appears to be the most crucial among the presented 4.

Screenshot_9-png Installing Oracle Virtual Box

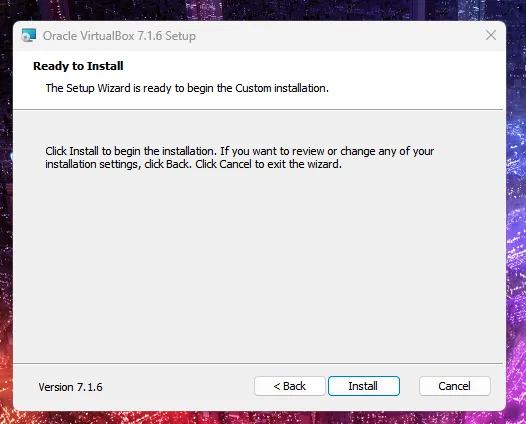
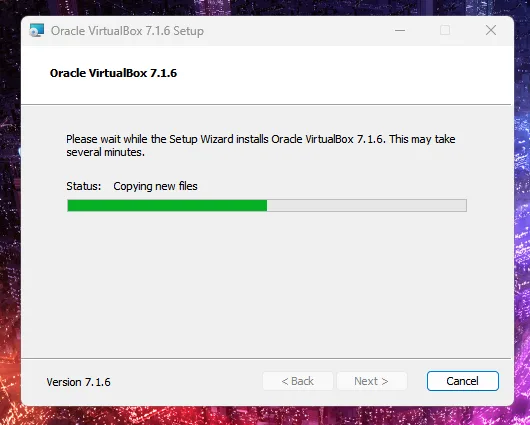
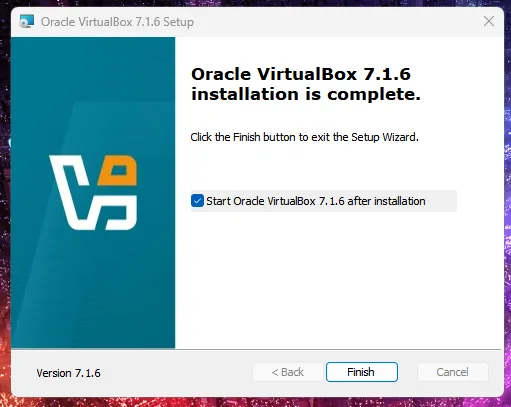
And, in that manner, the configuration is prepared for installing our customized installation. After we kindly clicked on the Install button, we are now exploring the status page with the loading bar where we can unwind, appreciate, and monitor the progress. We will reach the end point and will be able to leave the Wizard, choosing the Vbox’s starting.

Screenshot_10-png Installing Oracle Virtual Box
Screenshot_11-png Installing Oracle Virtual Box

Selecting to Start the Virtual Box is just a step to verify that everything is in place as of now.

Screenshot_12-png Installing Oracle Virtual Box

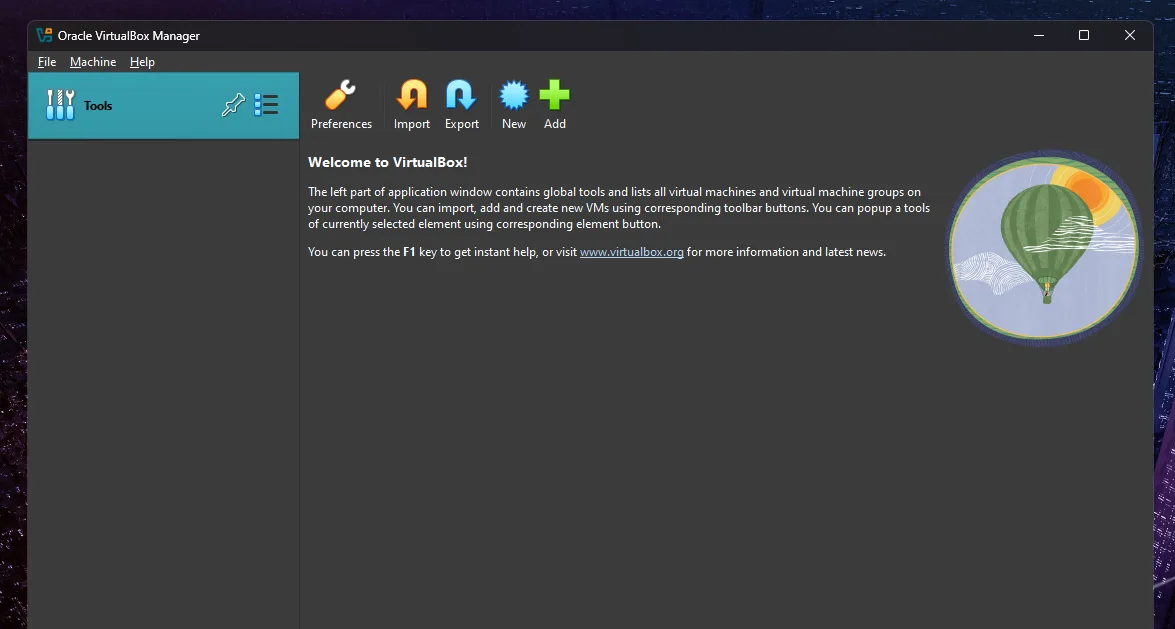
This is the Welcome page of the Virtual Box VM manager by Oracle – since no VM name or OS is present.

Screenshot_13-png Installing Oracle Virtual Box

Each distro’s installation method will be detailed in a separate article. Kindly remain posted!

Tags: Anaconda installerArch LinuxArch userboot menu optionsBootLoaderbootloader setupCalamares installerCourse LaunchCPU and RAM settingsDebian GNU/LinuxDebian ISODebian LXDEEducational ContentEndeavourOSext4 file systemFedora installationFedora LinuxFedora LXQt Spinfirewall installationgranularityGraphical installInstallation GuideISO imageLinuxLinux AdministrationLinux distributionsLinux KnowledgeLinux ProfessionalsLinux TechalinuxtechaLTS kernelmanual partitioningnetwork configurationnetwork resetNTP serveroffline installationonline installationOracle VBoxOS installationpackage managerpackage mirrorpartitioning schemepopularity-contestprint supportPython dependenciesroot account setupskillsstorage controller IDEswap memorysystem configurationunattended installationuser account creationVBox installationVBox VM managervirtual hard diskvirtual machineVirtualBoxVirtualBox wizardVM setupVM storage sizeWindows hostsWindows installationXfce4 desktop

Share on Facebook
Share on X
  • Previous Linux Architecture

Leave a Reply Cancel reply

Your email address will not be published. Required fields are marked *

You may also like

Hardware Components. Central Processing Unit

The CPU, known as the Central Processing Unit or processor, serves as the computer system’s primary controller. It is the...

28 Jan 2025
Chapter One. Introduction / CPU / Hardware Components / Linux Administration

Hardware Components. Random Access Memory

RAM, also known as Random Access Memory, is the main component of your computer’s memory system. It is the main...

29 Jan 2025
Chapter One. Introduction / Hardware Components / Linux Administration / RAM

@ Linux Techa 2025

Powered by WordPress. Theme by Alx.